Survival Shooter
Learn how to use Dani AI via making a survival shooter game.
The Survival Shooter tutorial walks you through the basic workflow of using Dani AI. It is a reimplementation of Unity’s Survival Shooter using Dani AI’s capabilities.
Requirements
- Dani AI v1.0
- Unity 2017.3 or later
- If you are using Unity 5.5, you do not need the UnityEngine.AI namespace in this tutorial
Installation
For a full reference to the complete project, you can clone the repository or download the zip on our
Gitlab Page. Note
that the project lives under the namespace InitialPrefabs.DaniAI.Tutorials.
Alternatively, you can use the original Survival Shooter from the asset store as this is an extension to the project.
Project Setup
Directories
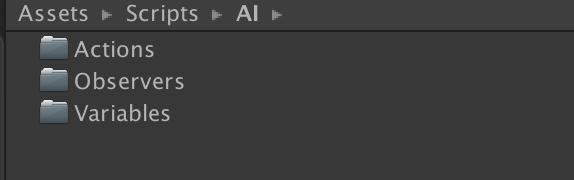
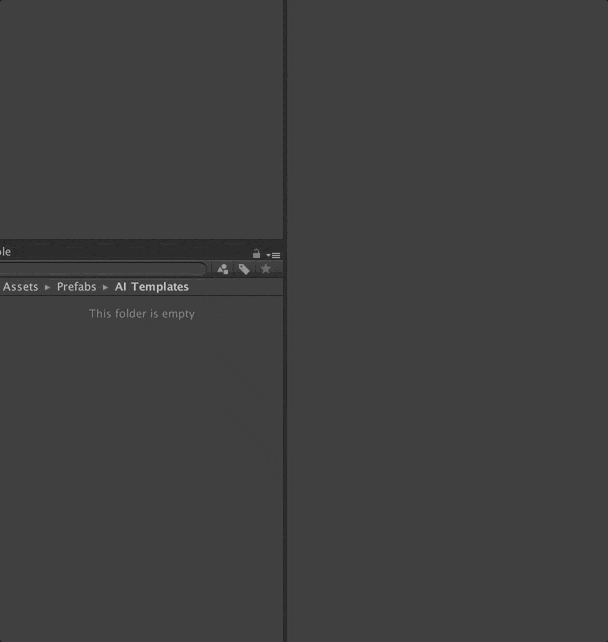
To keep our AI organized in our let’s create a few folders for our scripts. You’ll need
Assets/Scripts/AI/ActionsAssets/Scripts/AI/ObserversAssets/Scripts/AI/VariablesAssets/Prefabs/AI Templates
Creating a Brain
By right clicking inside your Project, we can create a Brain Template that all of out agents will
share. We’ll store our Brain Template in Assets/Prefabs/AI and name it Zombie Brain.
Once created, check your inspector and click Open In Editor to open the template inside Dani AI’s Editor.
Using the Editor
When the editor is first opened, we can view the different parts of Dani AI. For more information about the different parts of the editor, please view the Node Editor section of the manual.
For now, we will be focusing on the main Canvas. When right clicking the Canvas, a menu will
appear providing options to create different nodes. If you’ve downloaded our completed project
you will see the Tutorial submenu. If you didn’t get our complete project, no worries! We’ll
be creating those nodes soon.

Moving our agents
General AI Behaviours
Since we’re mimicking the previous behaviours of the Survival Shooter, our agent should:
Let’s get started with setting up our agent to move.
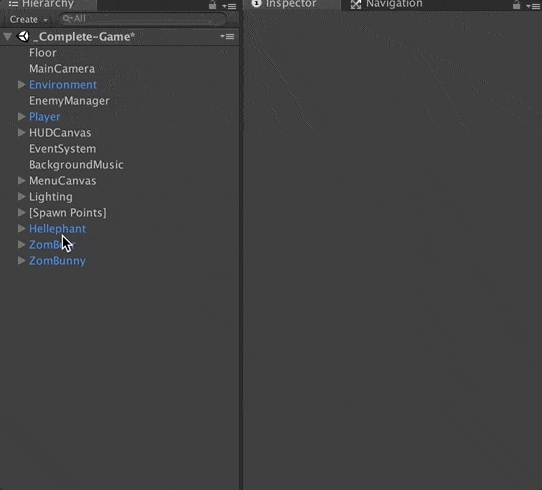
If you are using the Asset Store version, the following components can be removed from Zombear, Zombunny, and the Hellaphant prefabs:
EnemyMovementEnemyAttack
Moving the Agent
The agent needs to understand where it’s supposed to move and when it should stop moving. In this case, it’s quite simple. Every agent knows where the player, Sleepy Boy, is at any point in time.
Let’s create a Variable in Assets/Scripts/AI/Variables, called Vector3Variable.cs. This will
store the player’s position and share that information to all nodes within the Template.
// Vector3Variable.cs
using InitialPrefabs.DaniAI;
using UnityEngine;
// This creates a Variable which stores a Vector3
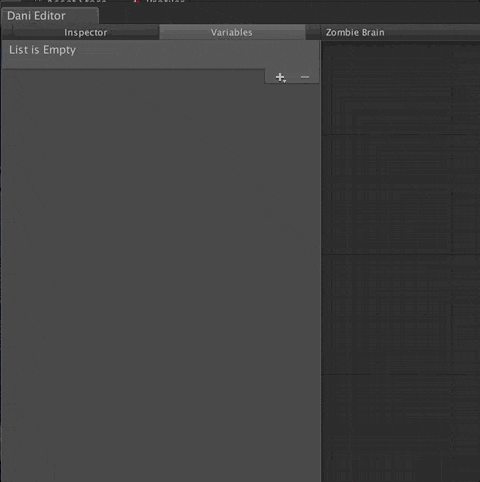
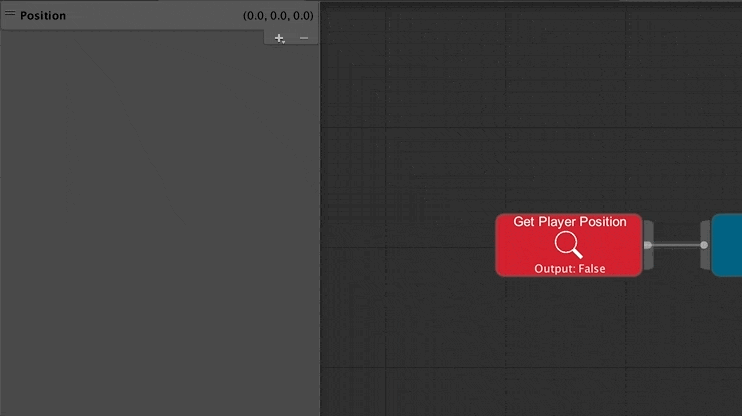
public class Vector3Variable : GenericVariable<Vector3> { }When the script is done compiling, head back to the Editor and switch over to the Variables tab
in the Inspector. Click the (+) sign and add the Vector3Variable. By default, the Variable’s name
will have the class’ name. Change the name to Position for convenience.
Our variable stores the player’s position, but it needs to be updated. For this, we create an
Observer called GetPlayerPosition.cs. The observer will cache the player within the scene and always
update its current position.
// GetPlayerPosition.cs
using InitialPrefabs.DaniAI;
using UnityEngine;
public class GetPlayerPosition : BoolObserver {
public string vector3VariableName = "Position";
private Vector3Variable playerPosition;
private Transform player;
// Use this for initialization
public override void OnStart () {
// Get a reference to the variable in DaniAI
playerPosition = Template.GetVariable<Vector3Variable> (vector3VariableName);
// Get the reference to the Player
player = GameObject.FindGameObjectWithTag ("Player").transform;
}
// Runs every frame like Unity's Update () call
public override bool OnObserverUpdate () {
// Set the player's position
playerPosition.Value = player.transform.position;
// For this basic AI, we'll always return true
return true;
}
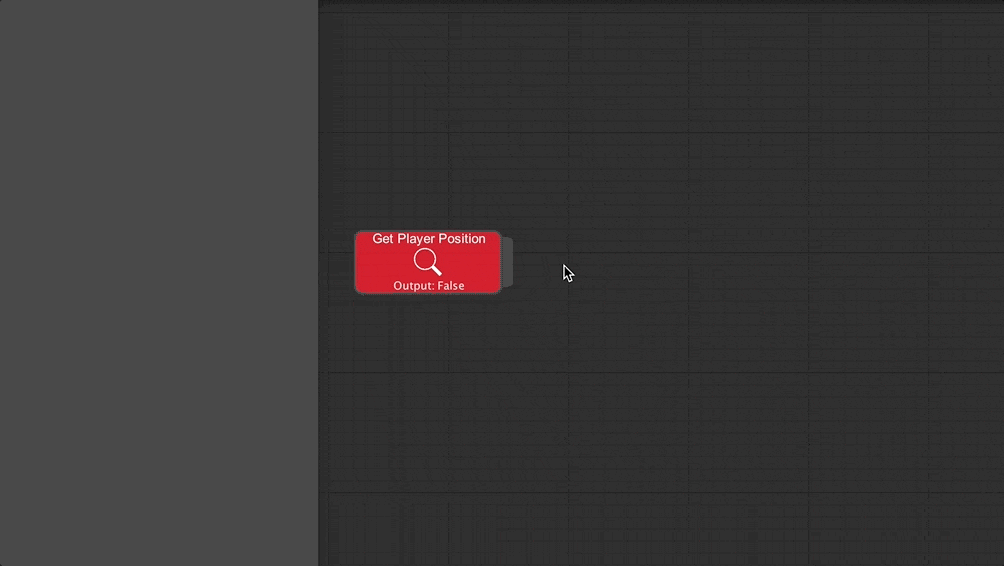
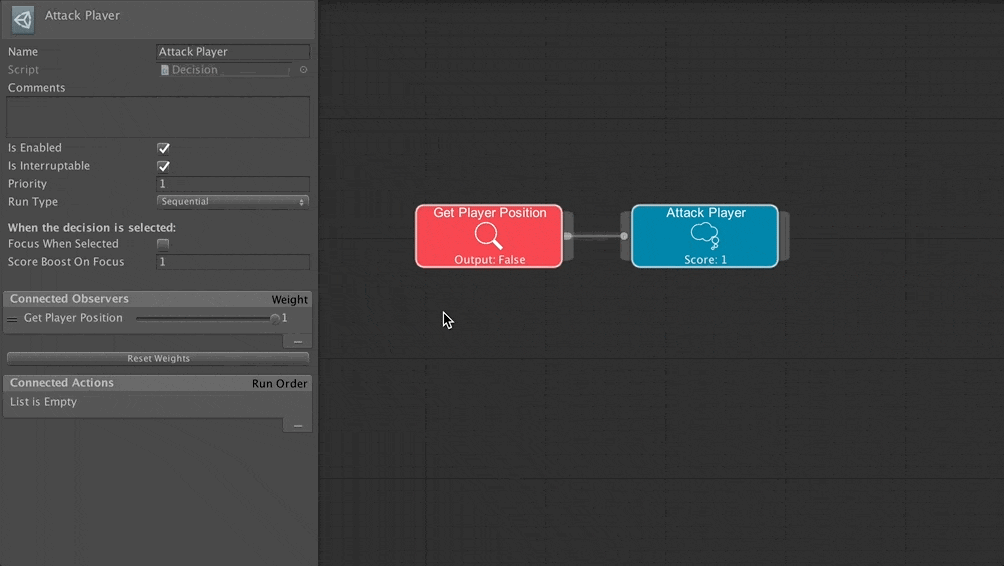
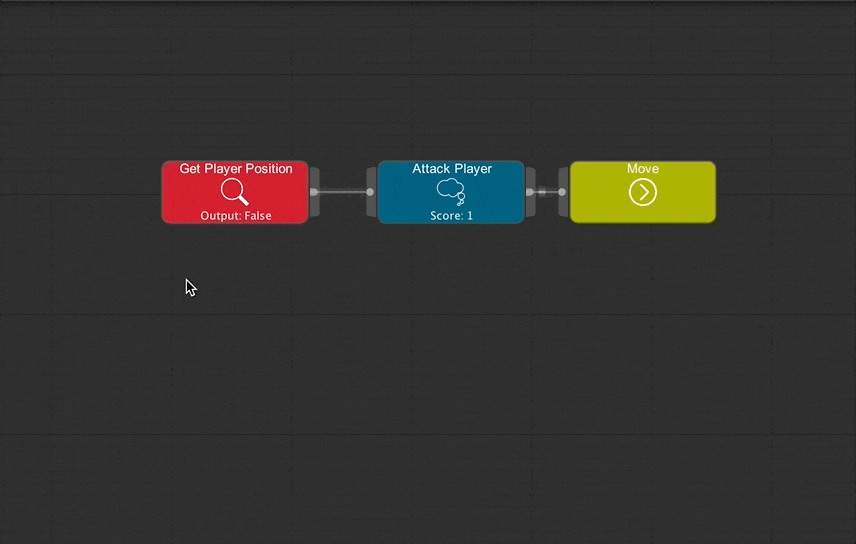
}Once created inside the editor, create a Decision (we’ll call it Attack Player) and connect it to our Get Player Position Observer.
Conditions
Our Get Player Position always returns true, likewise our Condition must evaulate that output. Click on the Connection and set the Comparison value to True.
We need a final component to create this entire context. We write a simple Move.cs Action Script.
using UnityEngine;
using UnityEngine.AI;
/// <summary>
/// Moves the agent towards a specified position.
/// </summary>
public class Move : Action {
[Tooltip ("How far should the AI stop before the target destination?")]
public float stoppingDistance = 1.2f;
[Header ("Variables")]
[Tooltip ("What is the name of the Vector3Variable?")]
public string vector3VariableName = "Position";
private Vector3Variable position;
private NavMeshAgent navAgent;
public override void OnStart () {
// Get the variable
position = Template.GetVariable<Vector3Variable> (vector3VariableName);
// Get a reference to the NavMeshAgent
navAgent = GetComponent<NavMeshAgent> ();
}
public override void OnActionStart () {
// Ensure that the NavMeshAgent is not stopped and set the destination
navAgent.isStopped = false;
}
public override ActionState OnActionUpdate () {
// The player is always moving - so the NavMeshAgent needs to update its position
navAgent.SetDestination (position.Value);
// If the NavMeshAgent is close enough to the player, succeed the Action
if (navAgent.hasPath && navAgent.remainingDistance <= stoppingDistance) {
return ActionState.Success;
} else {
// otherwise continue running the Action
return ActionState.Running;
}
}
public override void OnActionEnd (ActionState state) {
// Stop the NavMeshAgent and clear the path as long as the NavMeshAgent
// is on the NavMesh
if (navAgent.isOnNavMesh) {
navAgent.isStopped = true;
navAgent.ResetPath ();
}
}
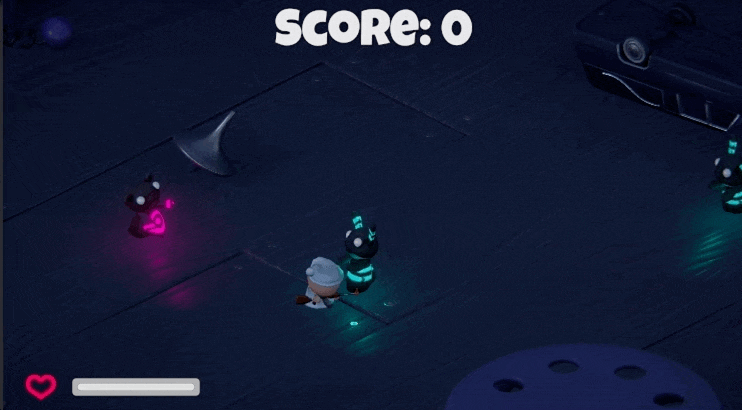
}Let’s add Move to our Zombie Brain and begin adding this to our Zombear, Zombunny, and the Hellaphant prefabs.
Add the AIBrain component and apply the prefabs!
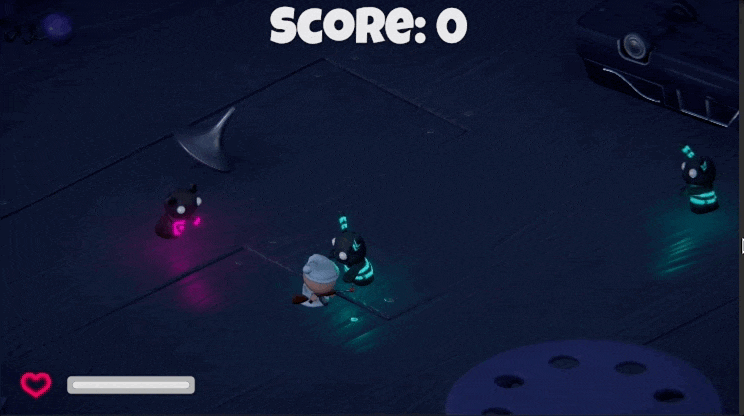
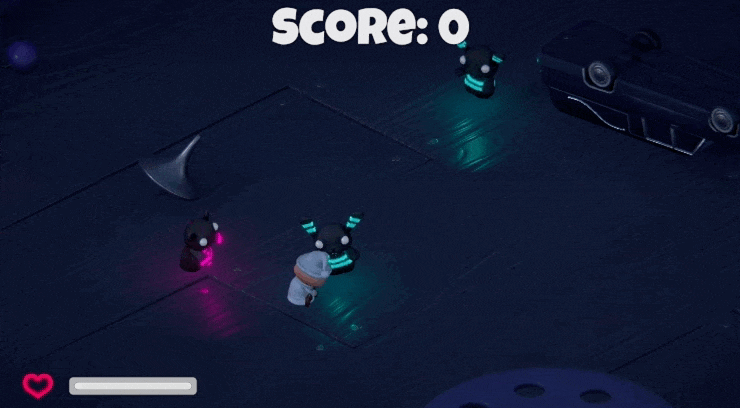
You should get a behaviour like the following gif.
Attacking the Player
So far, our agents move and follow the player. However, they do not attack when they are close to the player.
Let’s start implementing attacking behaviour!
Create another Variable, PlayerHealthVariable.cs to store a reference to the PlayerHealth Component.
// PlayerHealthVariable.cs
using UnityEngine;
using InitialPrefabs.DaniAI;

// Stores a reference to the PlayerHealth component inside the Template
public class PlayerHealthVariable : GenericVariable<PlayerHealth> { }
Once created, add it to our Variables inspector.
We need an Observer to check if the player is alive. We have two options here:
- Deriving from a
BoolObserver - Deriving from a
FloatObserver
If we derive from a FloatObserver, our output is simply return healthVariable.currentHealth. However,
our Comparison and Compare Value must be Greater than 0 for our Condition. Below, we implement using
the BoolObserver.
// IsPlayerAlive.cs
using UnityEngine;
using InitialPrefabs.DaniAI;

public class IsPlayerAlive : BoolObserver {

    [Header ("Variables")]
    [Tooltip ("What is the name of the PlayerHealthVariable?")]
    public string healthVariableName = "Health";

    private PlayerHealthVariable healthVariable;

    public override void OnStart () {
        // Get the player gameObject and the health attached to the player
        GameObject player = GameObject.FindGameObjectWithTag ("Player");
        PlayerHealth health = player.GetComponent<PlayerHealth> ();

        // Get the HealthVariable within DaniAI
        healthVariable = Template.GetVariable<PlayerHealthVariable> (healthVariableName);
        healthVariable.Value = health;
    }

    public override bool OnObserverUpdate () {
        return healthVariable.Value.currentHealth > 0f;
    }
}
Finally, we create an Action script, Attack.cs. The logic for attacking follows the same logic as
EnemyAttack.cs, with the exception that we removed the use of colliders and triggers to determine
whether the player is within range.
// Attack.cs
using UnityEngine;
using InitialPrefabs.DaniAI;
public class Attack : Action {
[Tooltip ("How far can the AI attack?")]
public float attackRadius = 1.5f;
[Tooltip ("How long should the AI wait before it should attack again?")]
public float timeBetweenAttacks = 0.5f;
[Tooltip ("How much damage should the AI do?")]
public int damage = 10;
[Header ("Variables")]
[Tooltip ("What is the name of the Vector3Variable?")]
public string vector3VariableName = "Position";
[Tooltip ("What is the name of the PlayerHealthVariable?")]
public string playerHealthVariableName = "Health";
private Vector3Variable playerPosition;
private PlayerHealthVariable playerHealthVariable;
private float timer;
public override void OnStart () {
// Get the variables
playerPosition = Template.GetVariable<Vector3Variable> (vector3VariableName);
playerHealthVariable = Template.GetVariable<PlayerHealthVariable> (playerHealthVariableName);
// Reset the timer
timer = 0f;
}
public override ActionState OnActionUpdate () {
timer += Time.deltaTime;
// Attack every 0.5 seconds and if the player is within range
if (timer >= timeBetweenAttacks && IsWithinAttackRadius (Transform.position, playerPosition.Value)) {
// Then succeed the task!
AttackTarget ();
return ActionState.Success;
} else {
// Otherwise, we'll fail it...
return ActionState.Fail;
}
}
public override void OnActionEnd (ActionState state) {
switch (state) {
// Reset the timer when the task is successful
case ActionState.Success:
timer = 0f;
return;
}
}
// Check if the player is within the attack radius,
// we replaced the use of colliders with a distance check
private bool IsWithinAttackRadius (Vector3 start, Vector3 destination) {
float distance = Vector3.Distance (start, destination);
return distance <= attackRadius;
}
// Attack the player and damage the health
private void AttackTarget () {
playerHealthVariable.Value.TakeDamage (damage);
}
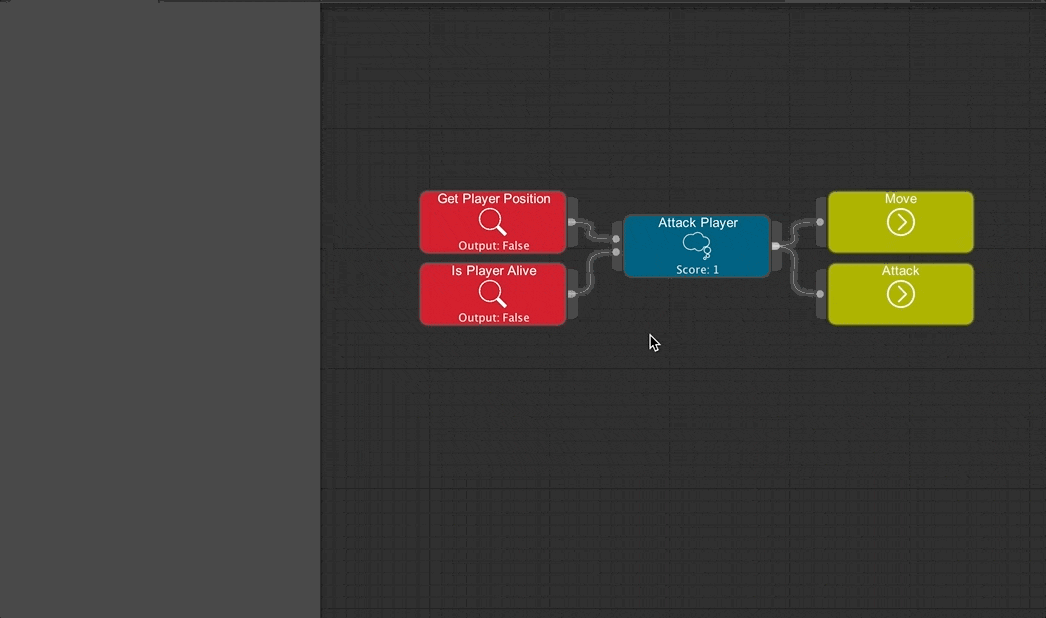
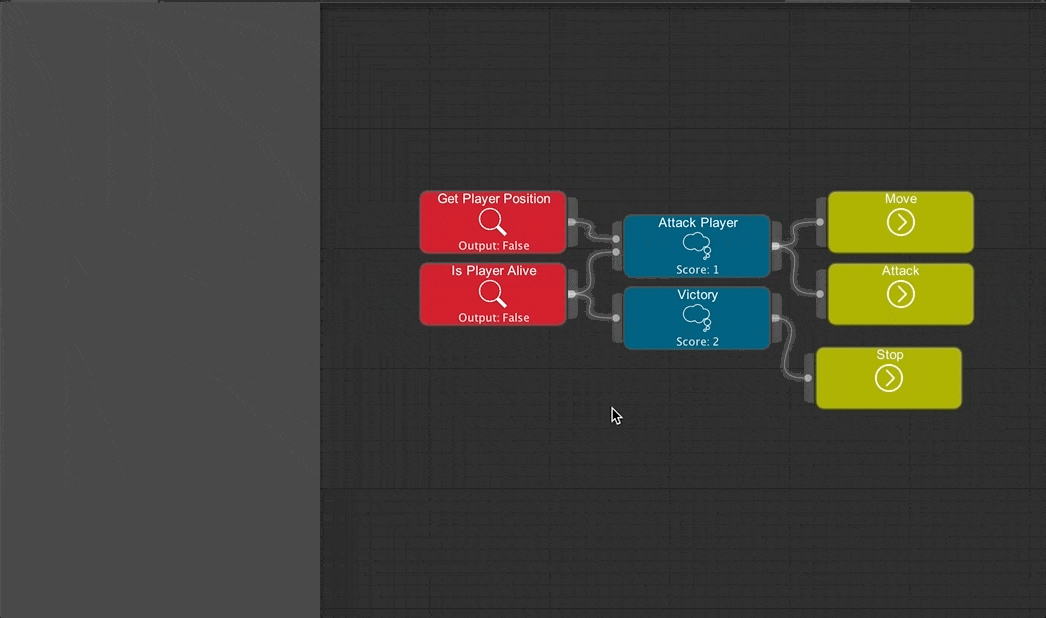
}Once all the components we need are created, let’s hook them up in our Editor. Since most of the
outputs are true for the Observers, our Conditions’ Compare Value is defaulted to True so we don’t need to change the Compare Value.
Our agents’ behaviours should look like the following. Note that our agent attacks every 0.5 seconds, so
there might be a delay when the agent is initially close up to you. You can modify the rate of attack in the
timeBetweenAttacks field in the Inspector.
Player Death
When the player dies, the agent continuously attacks the player, so you’ll see a constant flashing red screen.
This unwanted behaviour comes from the idea that we don’t have another context/decision that takes precedence
over Attack Player.
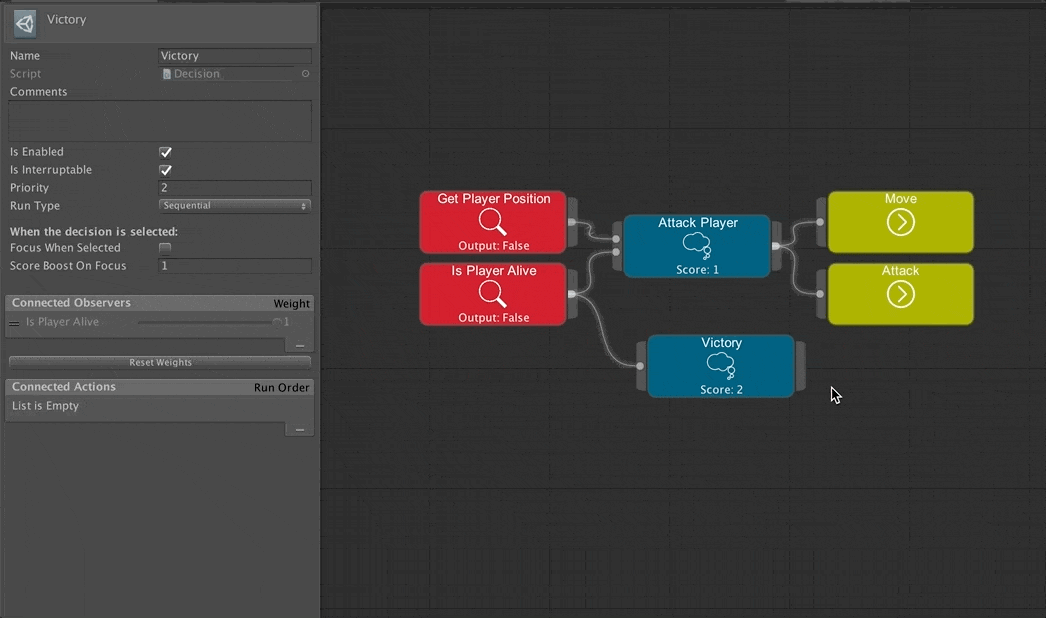
We’ve already created an Observer: IsPlayerAlive. We can use the same Observer and connect it to another Decision.
Create a Victory Decision in the editor. Since Victory should have a higher Priority than
Attack Player, make the Priority 2, and attach it to the IsPlayerAlive Observer.
Make sure that the condition between IsPlayerAlive and Victory is set to false.
Stopping
Finally, we need to stop our agent from movement. A simple Action script, Stop.cs is all the agent needs.
using UnityEngine;
using UnityEngine.AI;

public class Stop : Action {

    private NavMeshAgent navAgent;

    public override void OnStart () {
        // Get the NavMeshAgent component
        navAgent = GetComponent<NavMeshAgent> ();
    }

    public override void OnActionStart () {
        // Clear the path and disable the NavMeshAgent
        if (navAgent.isOnNavMesh) {
            navAgent.isStopped = true;
            navAgent.ResetPath();
        }
        navAgent.enabled = false;
    }

    public override ActionState OnActionUpdate () {
        // Immediately succeed the task immediately
        return ActionState.Success;
    }
}
Once compiled, add the Action to the editor!
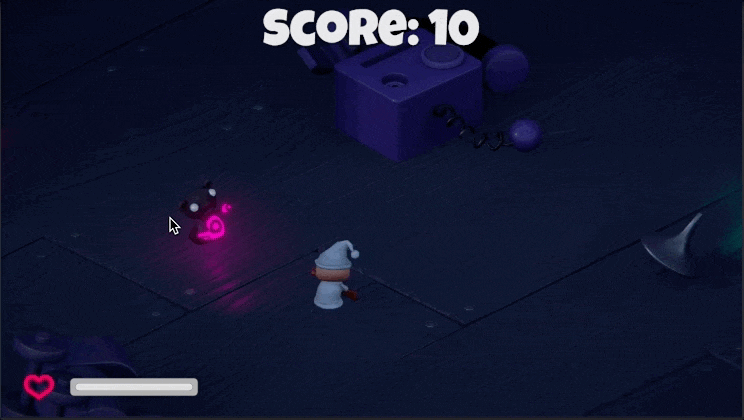
Now you should get a behaviour like the following, where the agents stop attacking when the player dies.
Agent Death
As you are playtesting and shooting the agents, you may notice that when an agent dies, an error occurs inside the console:
“SetDestination” can only be called on an active agent that has been placed on a NavMesh.
Since there is no context of an agent dying, the highest priority context is Attack Player. First, create another Observer script: IsAgentAlive.cs. This Observer is like the IsPlayerAlive Observer.
using UnityEngine;
using InitialPrefabs.DaniAI;

public class IsAgentAlive : BoolObserver {

    private EnemyHealth enemyHealth;

    public override void OnStart () {
        enemyHealth = GetComponent<EnemyHealth> ();
    }

    public override bool OnObserverUpdate () {
        return enemyHealth.currentHealth > 0f;
    }
}
An agent is considered dead when the health’s value <= 0. Add the IsAgentAlive Observer and a new Decision, Die, to the Editor.
The Die Decision has the highest priority out of all of the Decisions with a Priority of 3.
That’s it! You now have a complete Zombie Brain which can be used for multiple types of agents!
You can extend from this tutorial and add some more complex logic to your agent!